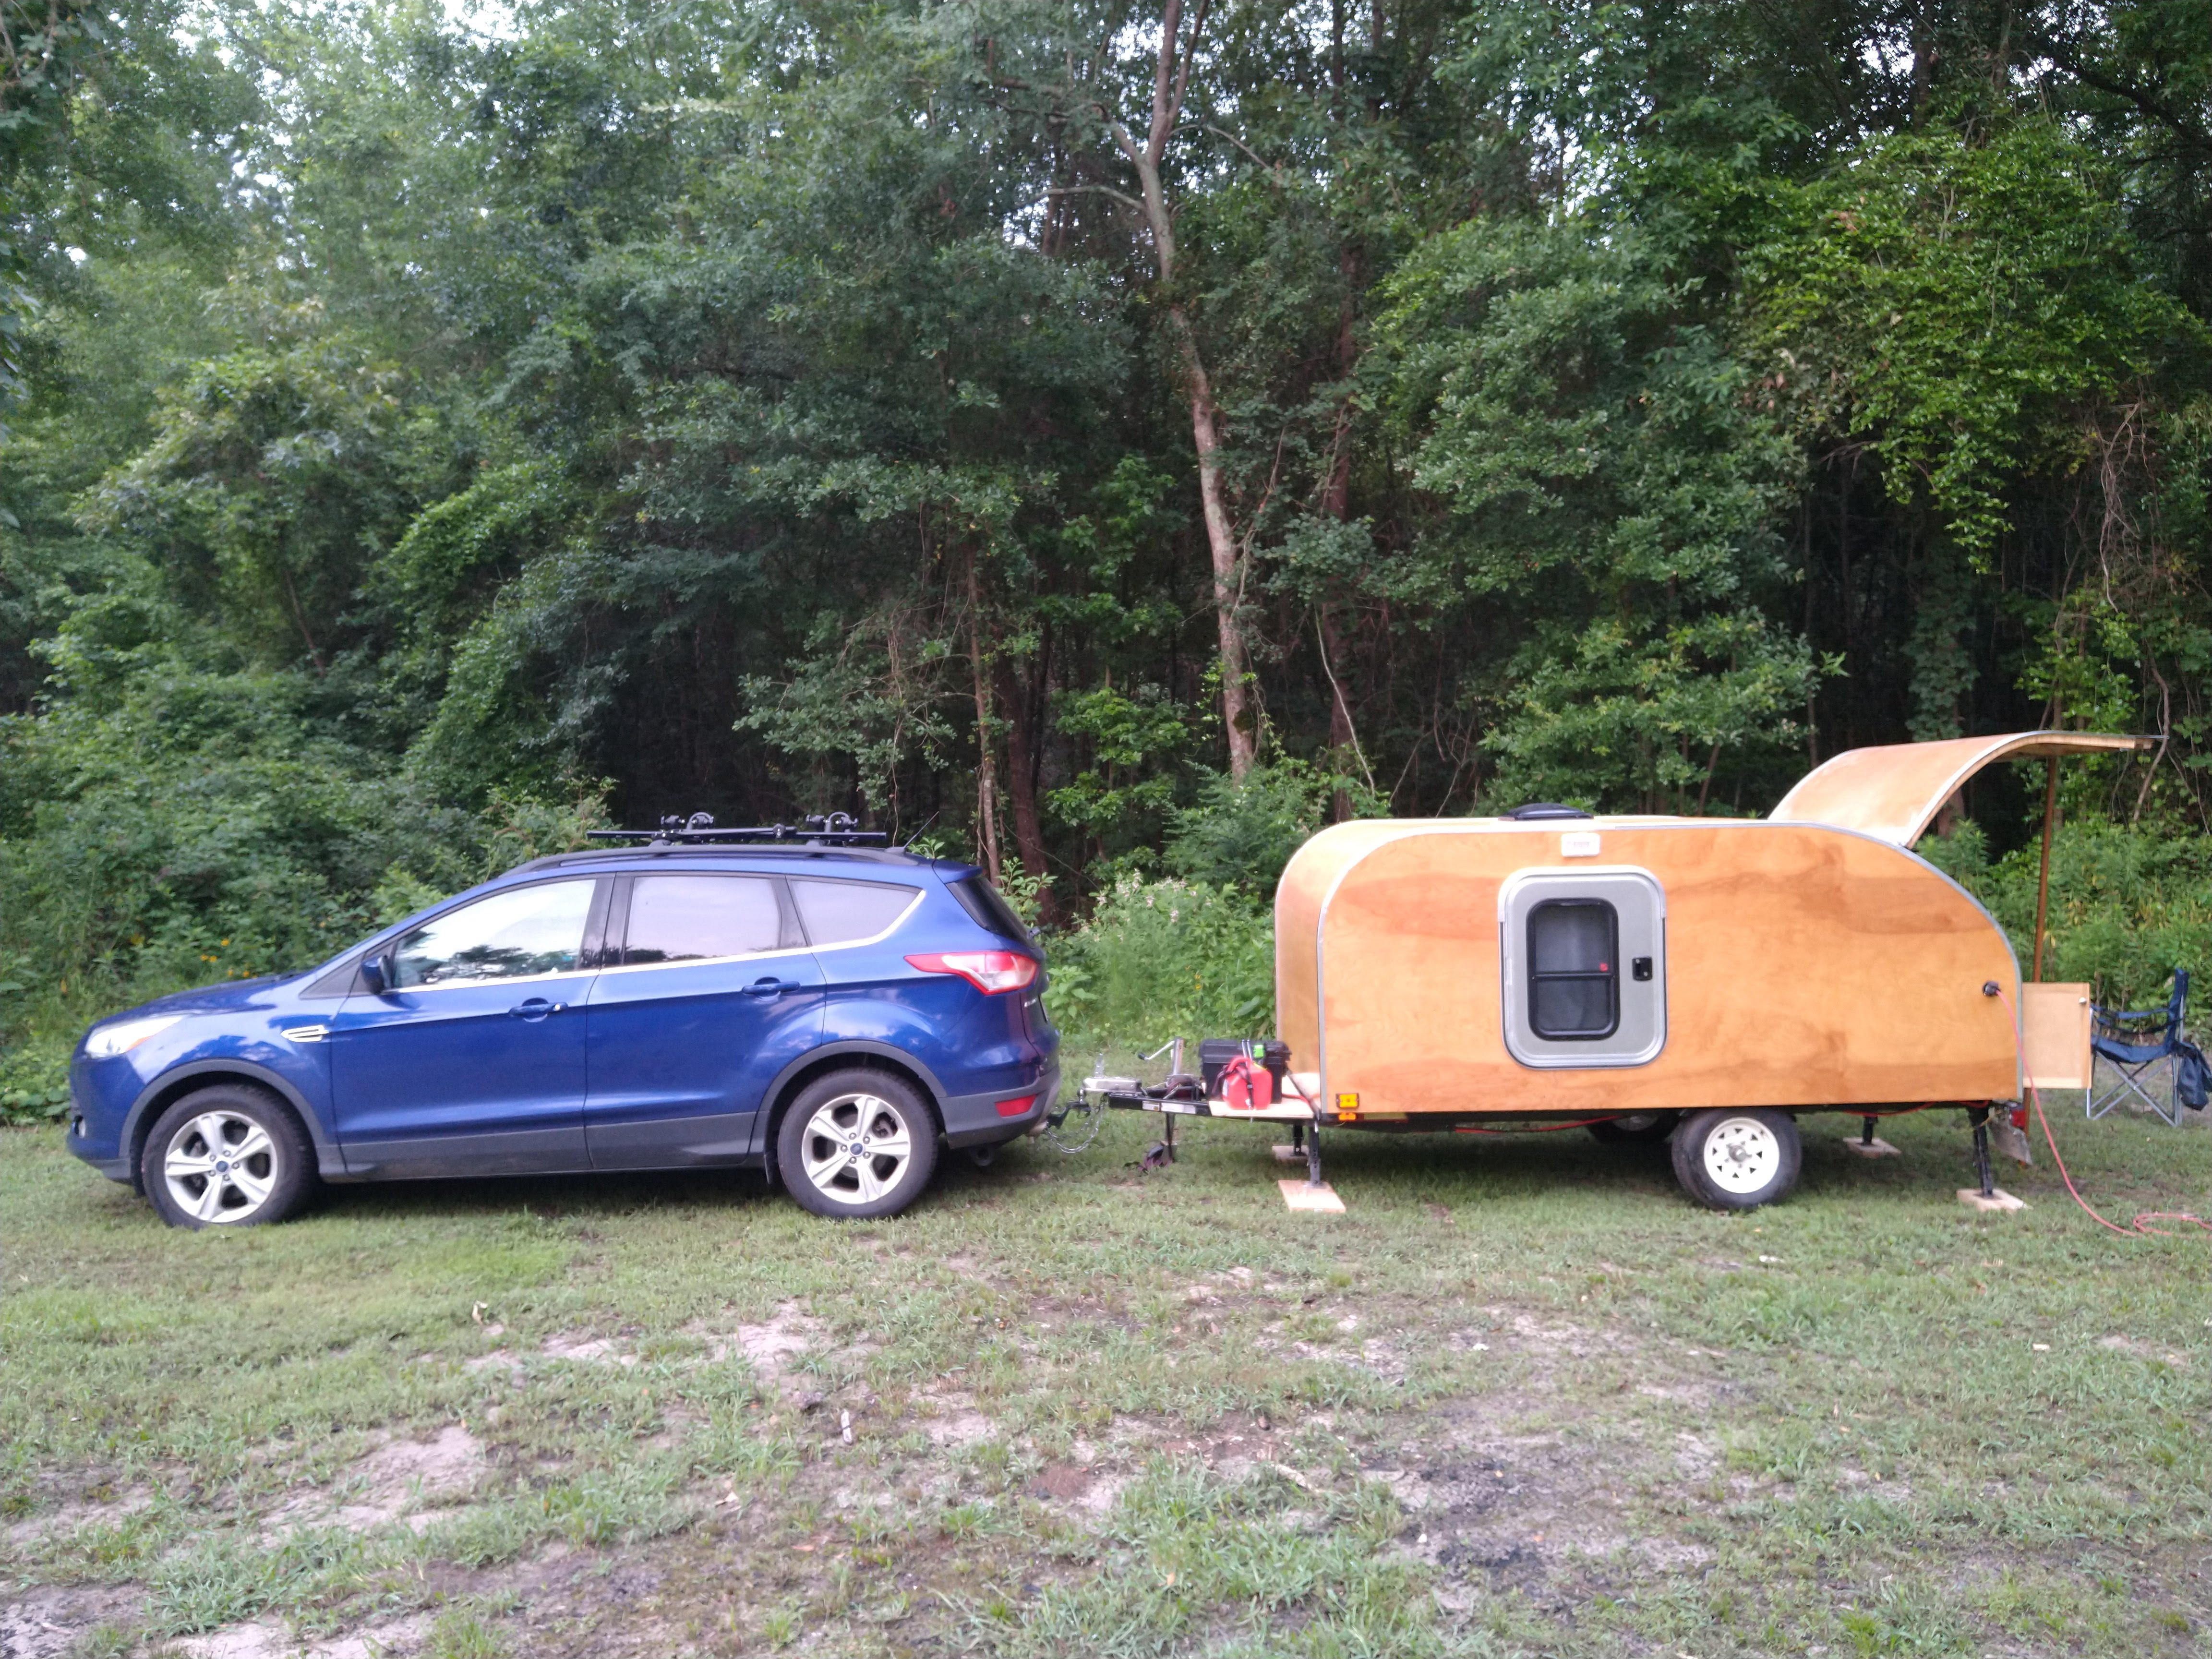
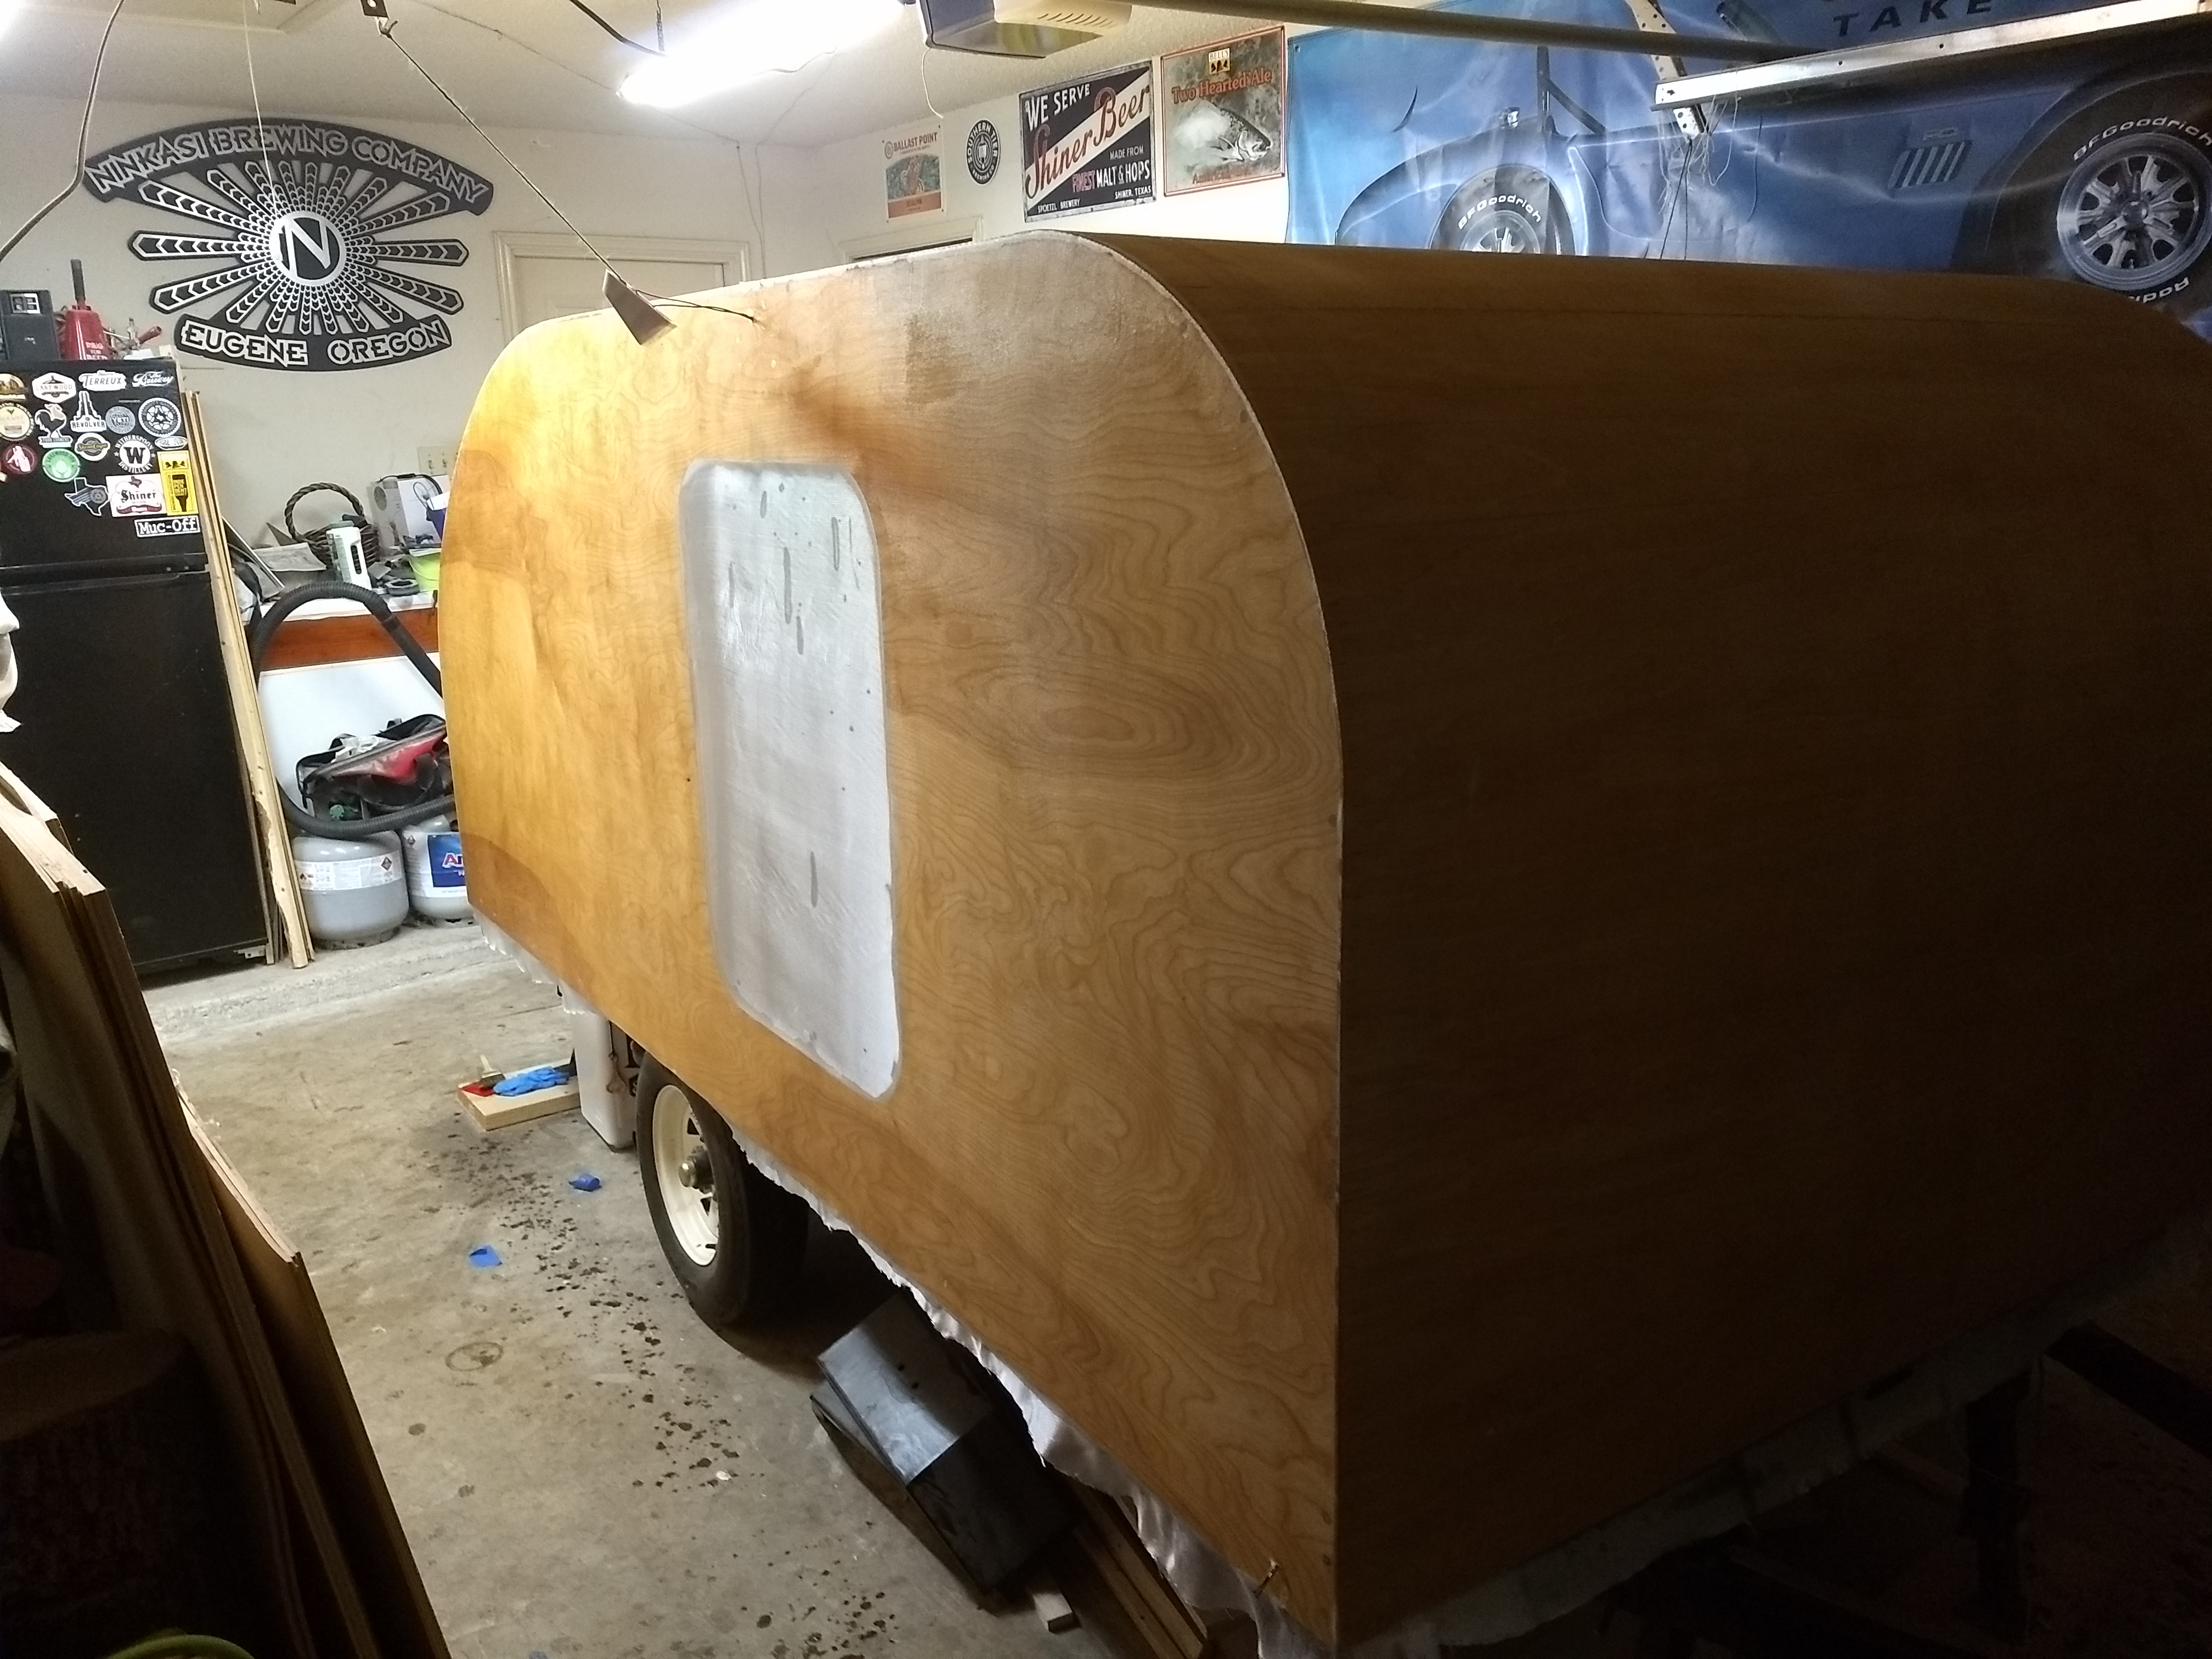
The day finally came to go camping in the teardrop trailer. I was invited out to a friend’s ranch a few hours away for a guys weekend. Obviously it was the perfect opportunity to bring the teardrop. Especially since there would be drinking involved. The trailer pulled perfectly behind my tow vehicle. It’s a 2016…
Category: Teardrop Trailer
These posts are an overview of my teardrop trailer build. My teardrop trailer is designed to sleep 4, it has an outdoor kitchen, and can be pulled by about any size car.
Outfitting the trailer with beds and bedding.
It’s time to start outfitting the trailer. It’s time to go camping. For christmas my parents bought us a queen size mattress. It is a Lucid 6″ memory foam mattress. For the kid’s bunks I used a 1 1/2″ king size mattress topper that I cut up to give them 3″ of padding. I covered…
Building the galley hatch.
Next on the agenda was building the galley hatch. The galley hatch was possibly the hardest part to build. This is because you need it to match the lines of the trailer perfectly and you need it to be watertight. While the weight of it wasn’t too bad, the size of it meant I always…
Finishing the interior and galley
Next up was finishing the interior and the galley. I sanded the surfaces of the walls and bunks. Followed by the countertop, cabinets and drawers. They were all stained with Minwax Pecan to match the exterior, and given three coats of Minwax polyurethane. Overall I’m happy with the way it came out. As I did…
So much sanding to get that glossy finish.
With the epoxy finally cured, it was time to do the finishing top coat. To prepare for this we needed to do a lot of sanding. I used Diablo sanding discs with my Dewalt orbital sander. The top coat I used is Minwax Spar Urethane. It is designed for outdoor use and it will protect…
Exterior finish for the woody teardrop
For the exterior finish of the teardrop I stained the wood with Minwax Pecan. We chose this color after staining several scrap pieces of wood with various colors. The birch and pine took stains differently and it was the best match we could come up with. I can’t seem to find the photo from this…
Cabinets and drawers
To make the cabinets and drawers I decided to use some poplar, 1/2″ birch plywood, 1/2″ sanded plywood. I started off by making the faces. I first started off by cutting down the poplar boards using the chop saw. I then used the Kreg jig, which can be found here, on the horizontal boards. To…
The teardrop gets a roof
The time has come to add a roof to the teardrop. To start off I had to sand down the insulation as it was standing proud of the walls as seen below. The belt sander made quick work of the foam. After cutting down a few of the 4×8 flexible plywood to 67″ long. I…
Finishing the electrical system on the teardrop trailer
Today we will be finishing the electrical system. To start this off we needed to drill a hole in the side of the wall. This is for the shore power connection. An extension cord can be ran from a generator, campground outlet, or even a house to this inlet. The shore power connector is then…
Running Electrical
I seemed to have failed at taking pictures of installing the headliner. It’s just sheets of bending plywood cut to size and nailed in place. I didn’t forget to take pictures of running the electrical wires for the front of the cabin. The white wire in the picture below is Romex 14/2. It will supply…


