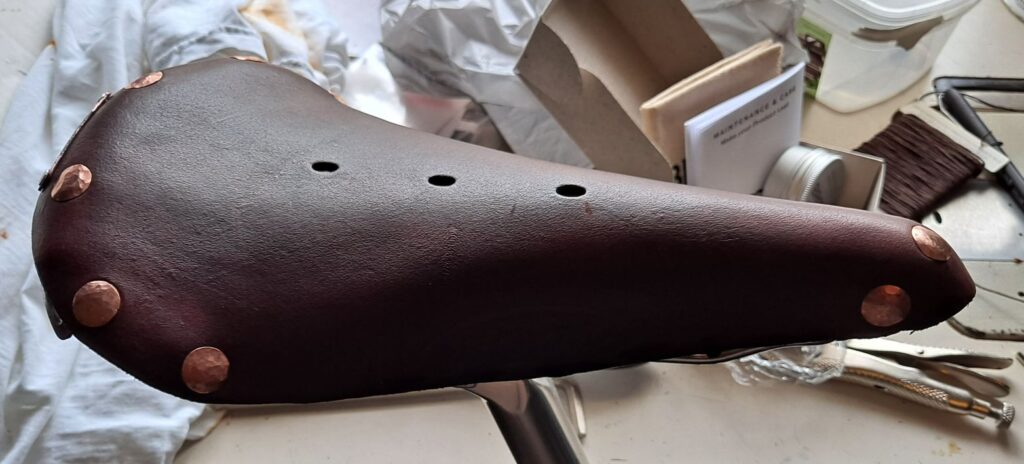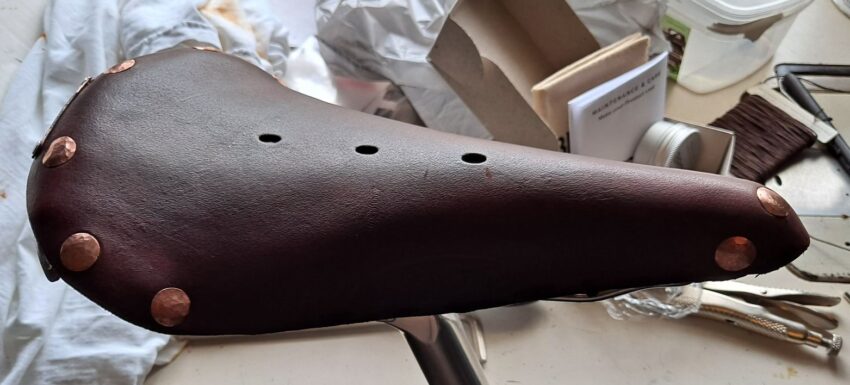
Every lugged steel frame bicycle needs a leather saddle. For the most part these days that means you are buying a Brooks saddle and most likely the B17. These are great saddles but I wanted something custom and was willing to put in some work to make it happen. Let’s see how I made my custom leather saddle.
To make a custom leather saddle I would need a frame, nose cone, rivets and a tension bolt. You can find most of these parts from Brooks, but I decided I would buy a used saddle. I purchased a used Brooks B5N saddle from a charity auction hosted on eBay. It had seen better days, the leather was cracked, the frame was pitted but overall it was in good condition.
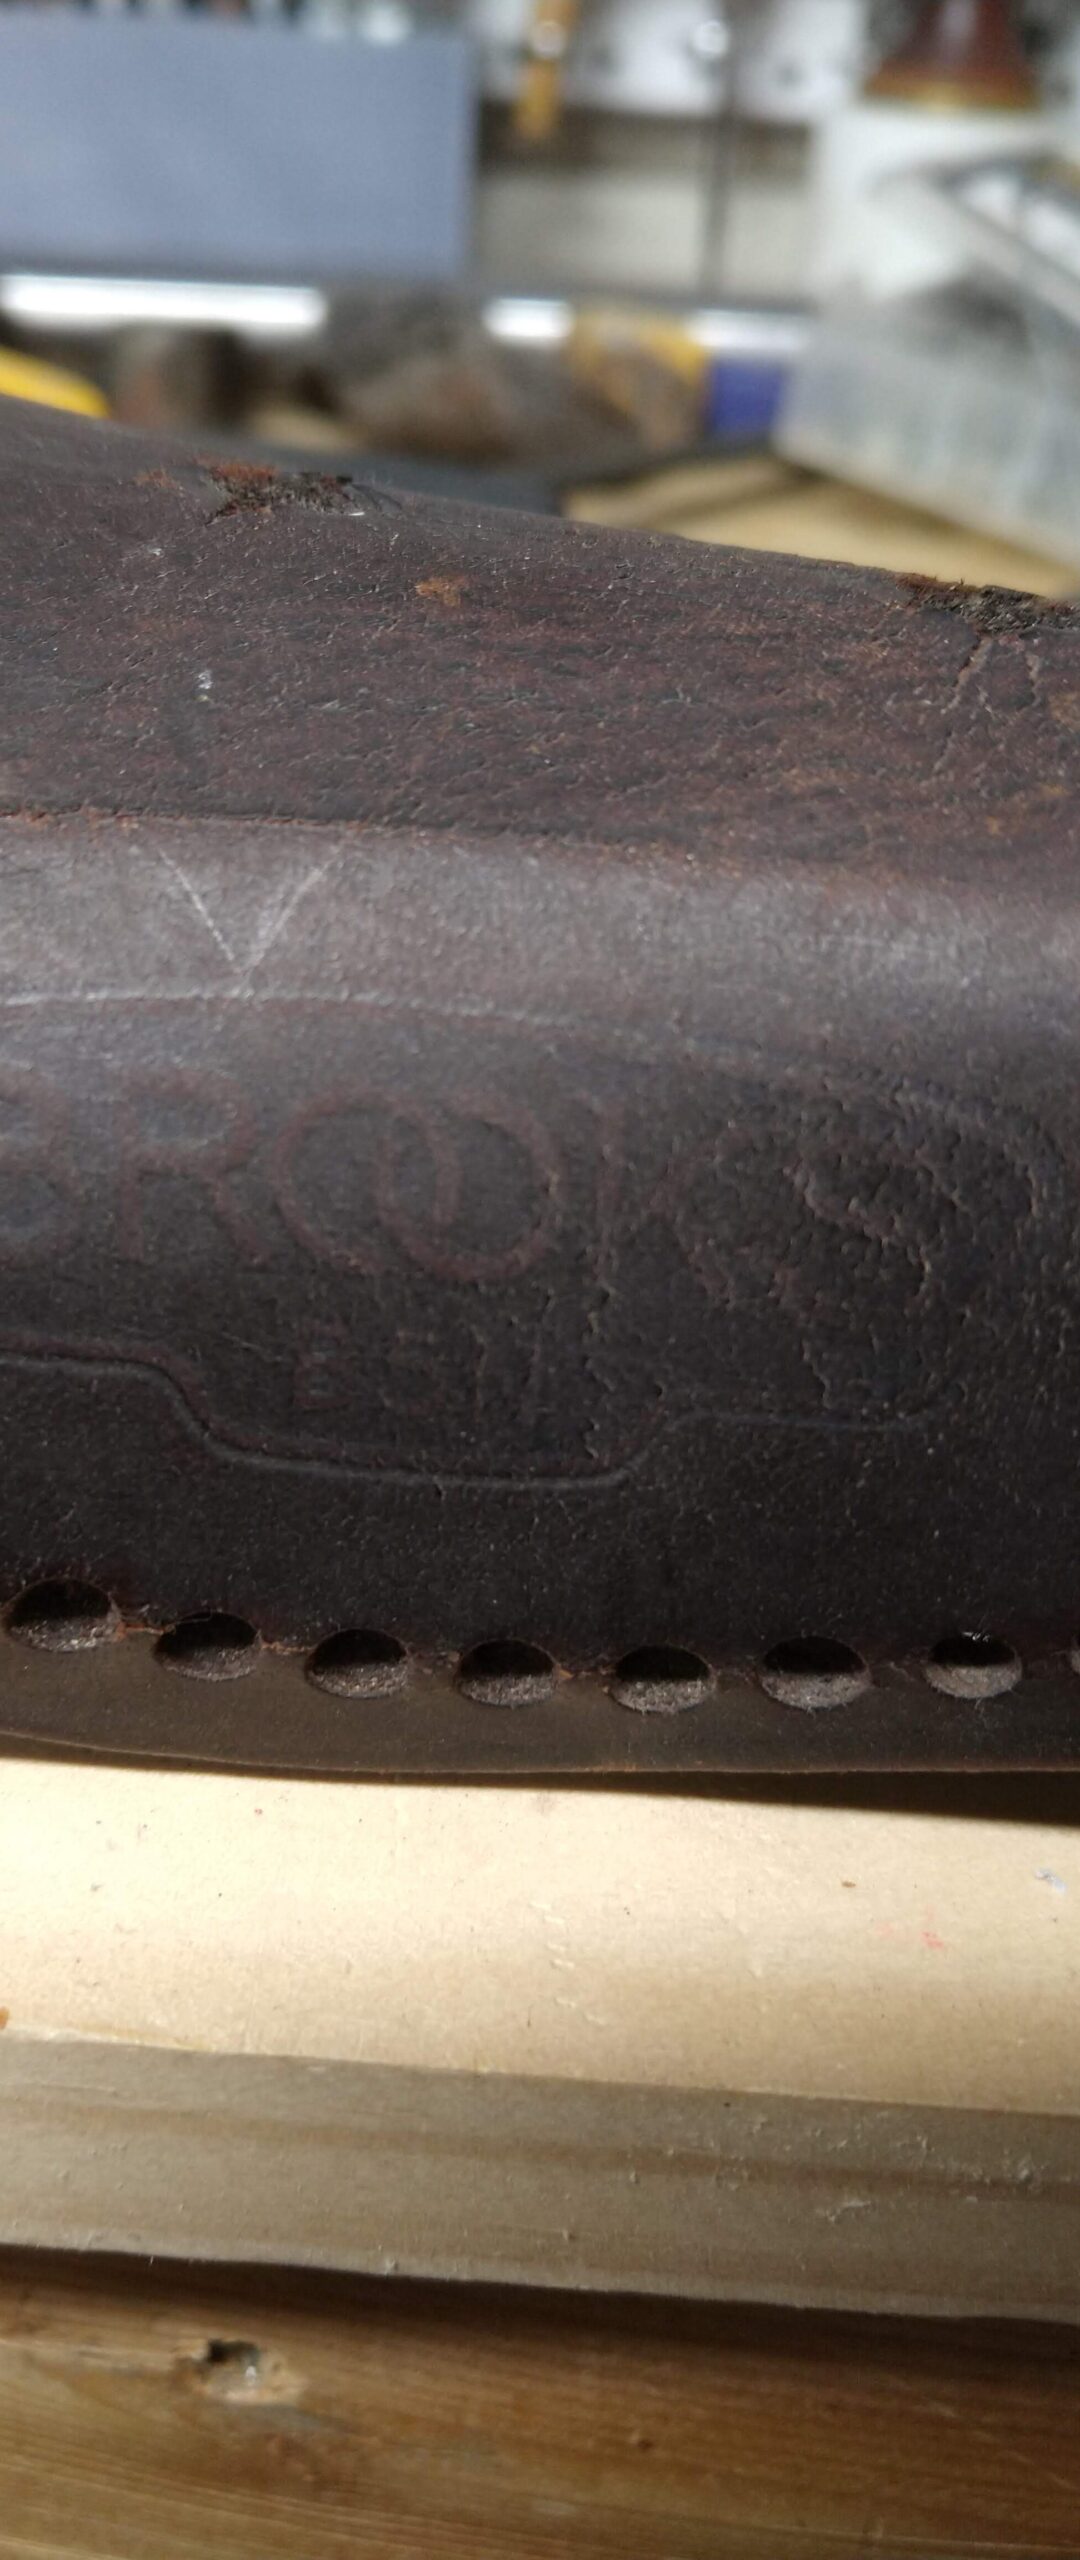
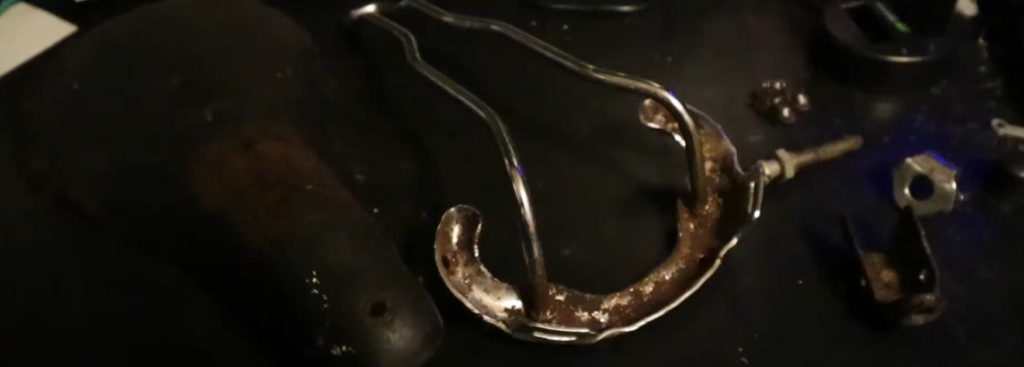
After my dog decided it was his chew toy, I drilled out the rivets of the saddle and separated out the parts.
Prepping the parts
I cleaned up the rust from the frame and nose cone, and then prepped them so they wouldn’t rust again. The nose cone has been painted gloss black, while the frame was clear coated. Hopefully this will prevent further rust/corrosion from happening.
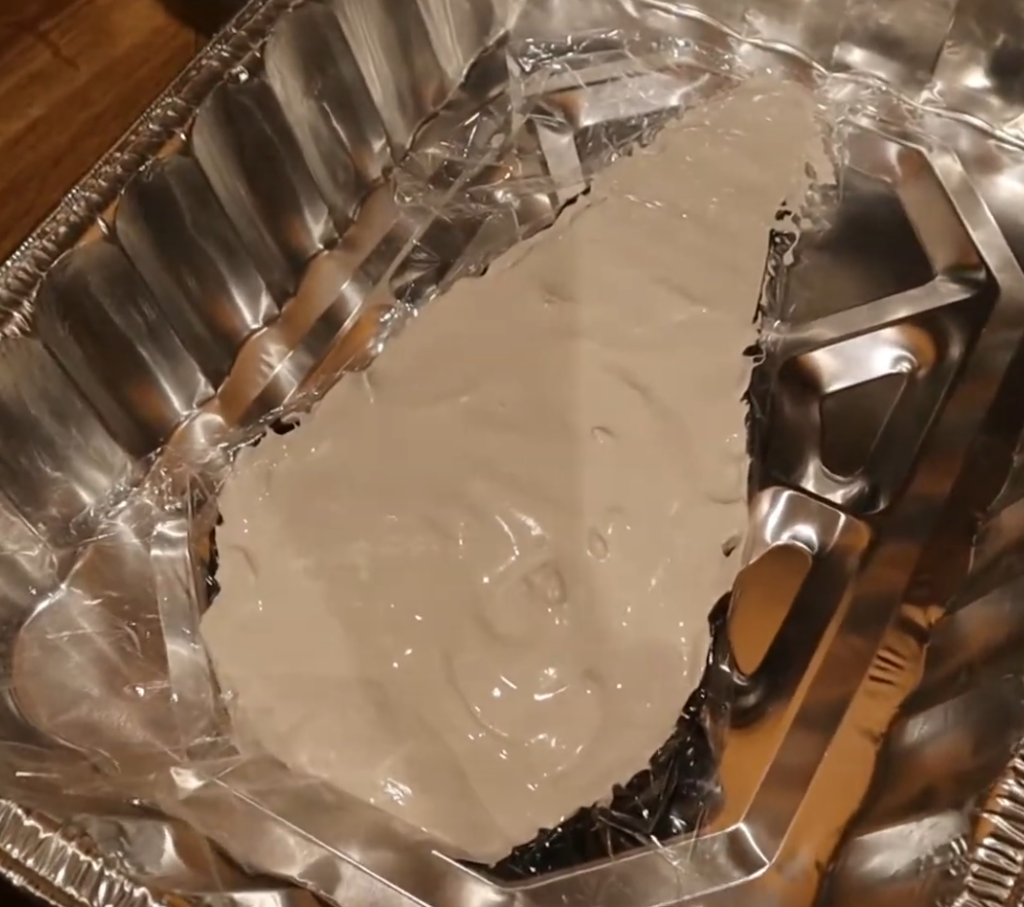
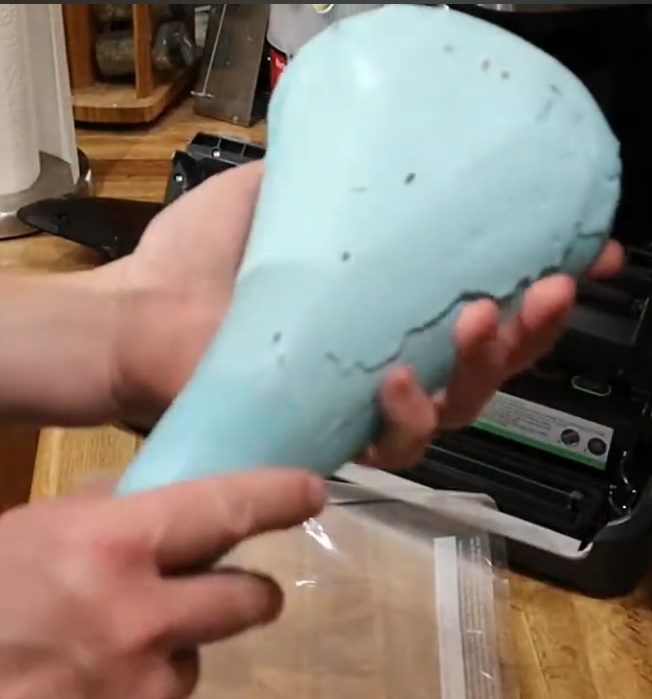
Next up was form a form to mold the new leather too. I lined the old leather with some plastic wrap and filled it with some plaster of paris. After that had dried, I noticed it took on the shape of the previous saddle including the previous rider’s glutes. I used some automotive body filler to fill in the space and any voids in the mold. Lastly I painted the buck so that it wouldn’t sustain any damage while wet forming the leather to it.
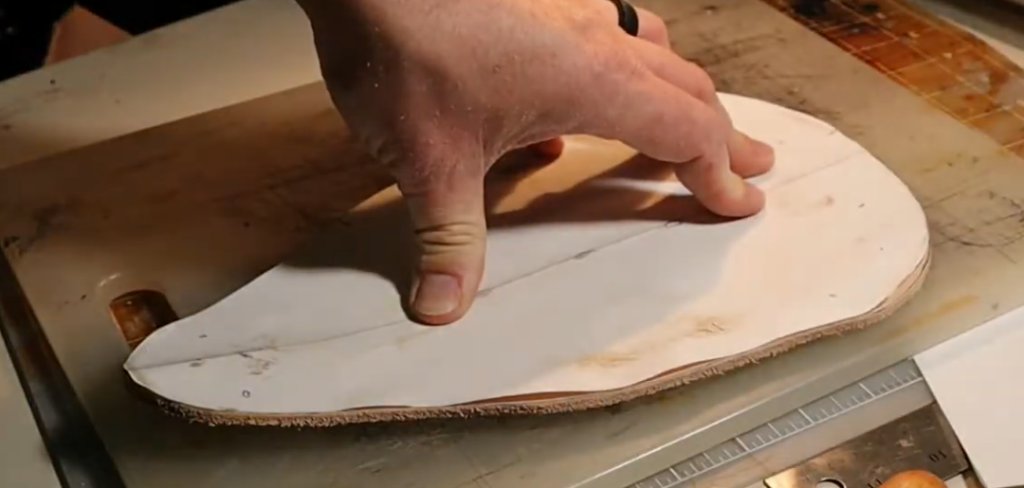
The old leather was dipped in water to release the fibers so that I could straighten it out. It was then traced onto some paper so that I could make a template of the leather for the new saddle. The new saddle was then cut out of some 9/10oz leather (3.6-4mm), and I punched out the oblong holes that run down the center of the saddle.
Forming the saddle
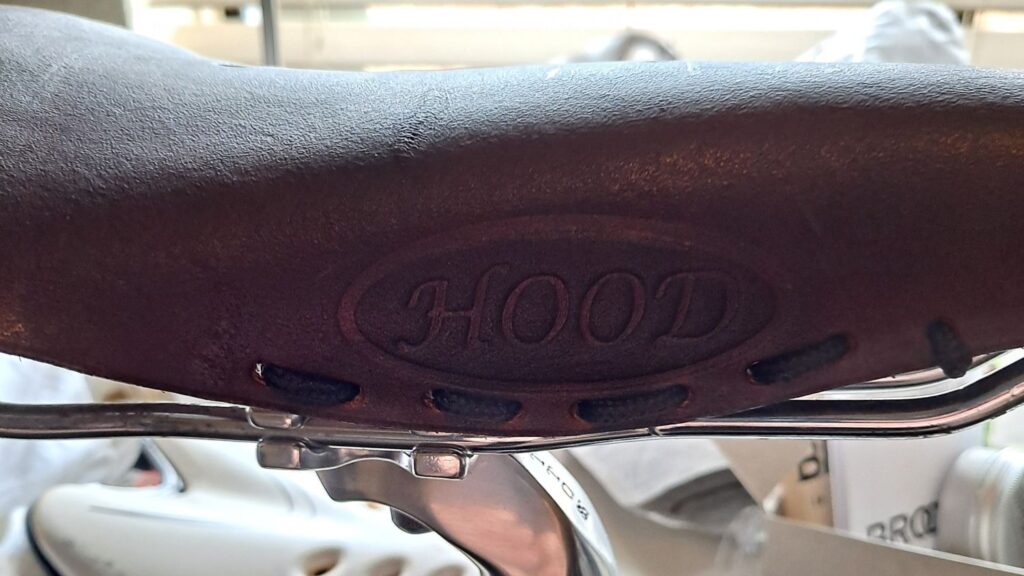
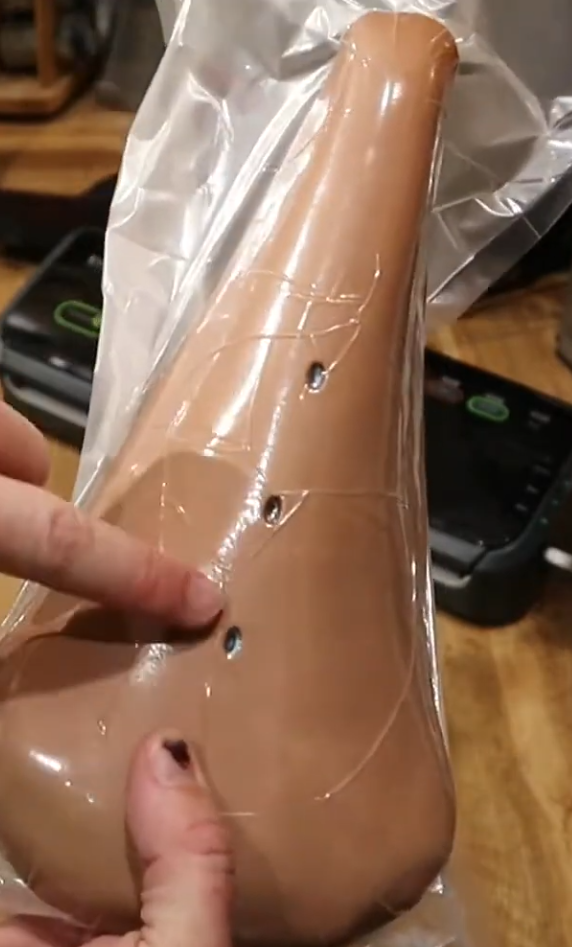
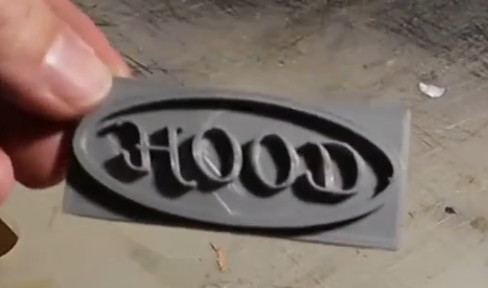
Using a Foodsaver vacuum sealer, I wet molded the leather to the saddle mold I created. This was left overnight. While this happened I designed a reverse image stamp to 3d print and stamp my name into the leather.
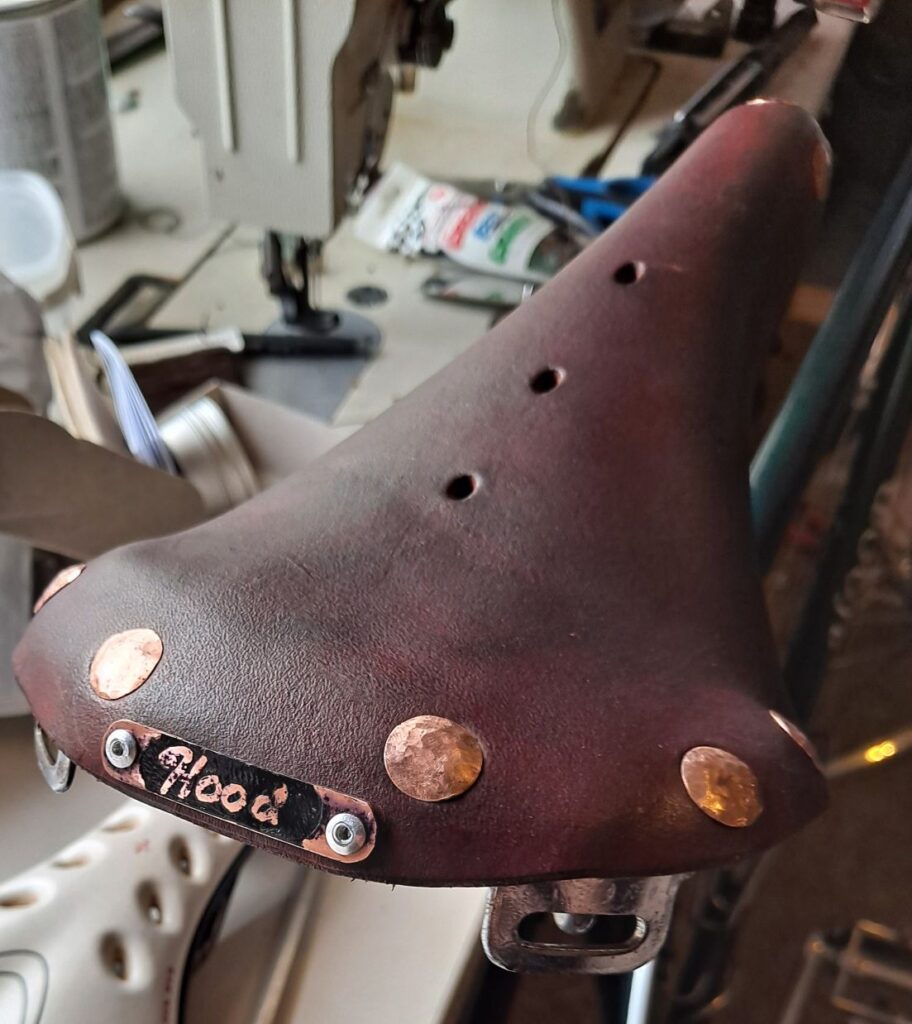
The saddle was dyed using Fiebings Light Brown leather dye, before having the saddle hardware peened on using solid 13mm copper rivets. In this process I remembered I wanted to try my hand at etching copper to make a custom saddle tag for the rear of the saddle. Using 18g copper and PCB etching fluid (Ferric Chloride). The saddle tag was then painted and riveted on with blind rivets.
Figuring out the order of operations on riveting on the saddle was a process. I’ve learned that you must rivet on the nose cone first. The saddle tag second, followed by the saddle frame. Getting in the tension bolt was a process. I used a DeWalt brand 6″ quick clamp and reversed one of the jaws to turn it in to a spreader. This along with a 24mm socket got me the space needed to get the bolt in place.
The custom saddle is one of my favorite items. If I were to do it again though I would use thicker leather. The leather I used has used in the past by Brooks, but only when making a saddle to a cost, such as in the B5N that I refurbished.