
The teardrop gets a roof
The time has come to add a roof to the teardrop. To start off I had to sand down the insulation as it was standing proud of the walls as seen below.
The belt sander made quick work of the foam.
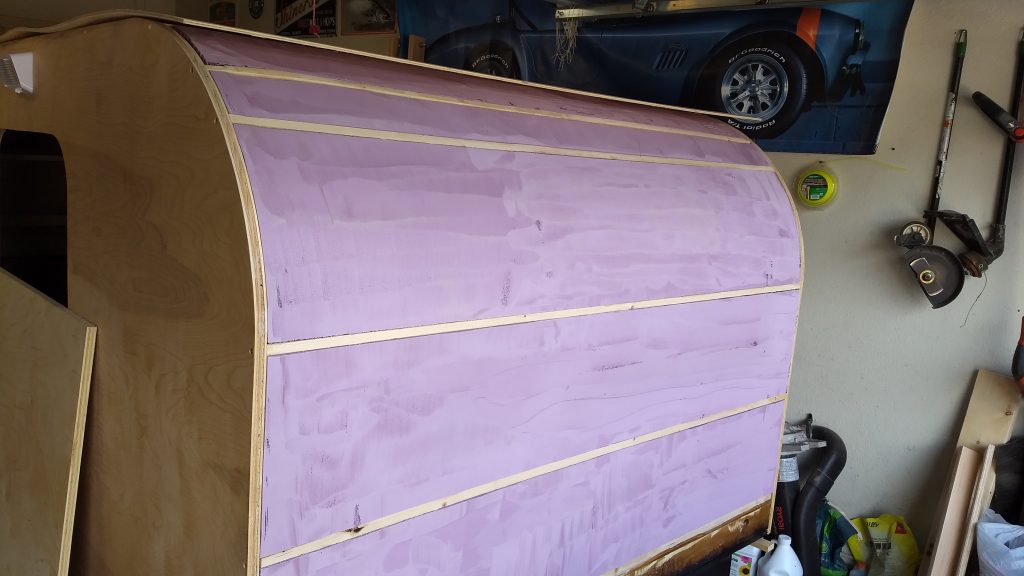
After cutting down a few of the 4×8 flexible plywood to 67″ long. I installed some scrap wood to the bottom of the floor. You can just make out one in the picture above. Next I spread out construction glue that’s rated for the foam and layed the plywood up. I also used a nail gun to fasten the boards together. Below you can see the plywood sticking out past the walls.
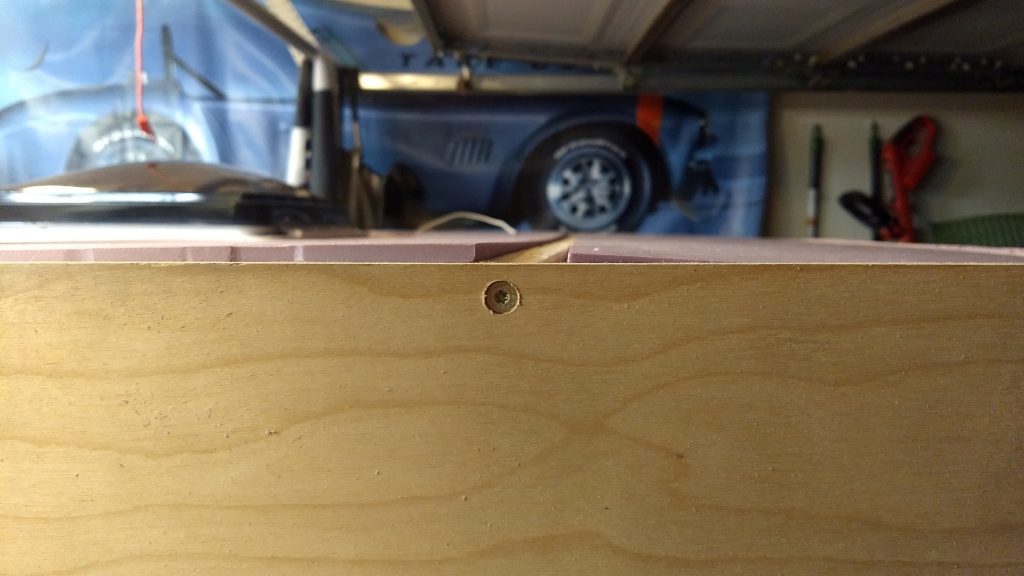
To locate the horizontal boards under the plywood, I would back out their screws and wrap a piece of twine around both of them. This gave me piece of mind that I was securing to wood and not foam.
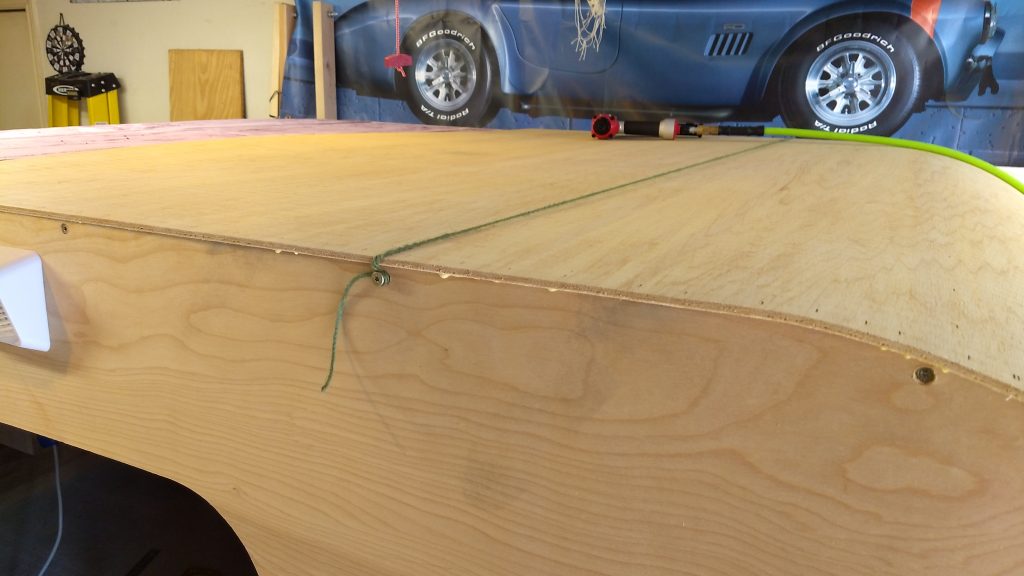
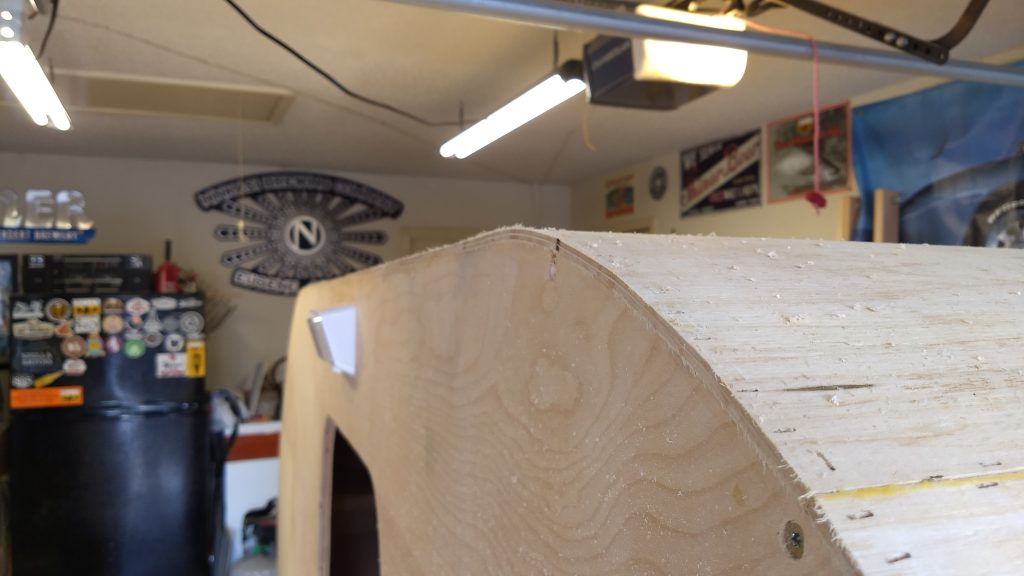
Afterwards I used a flush trim router bit to make everything flush.
Tools used for this portion of the build: